The Easiest Way to Use Global State Management with Zustand in Next.js 15 - Step by Step
10 Feb 2025・5 Minutes reading


Introduction
Managing global state in Next.js applications can be challenging. In this guide, we will explore how to use Zustand to simplify state management and integrate it seamlessly into a Next.js 15 project.
Requirements
Before we begin, make sure you have the following:
- Node.js 18.18+
- Visual Studio Code (or any preferred editor)
- A terminal or command prompt
Step 1: Install Next.js 15 & Start the Server
For comprehensive guidance on Next.js, check out the official Next.js documentation.
Install Next.js
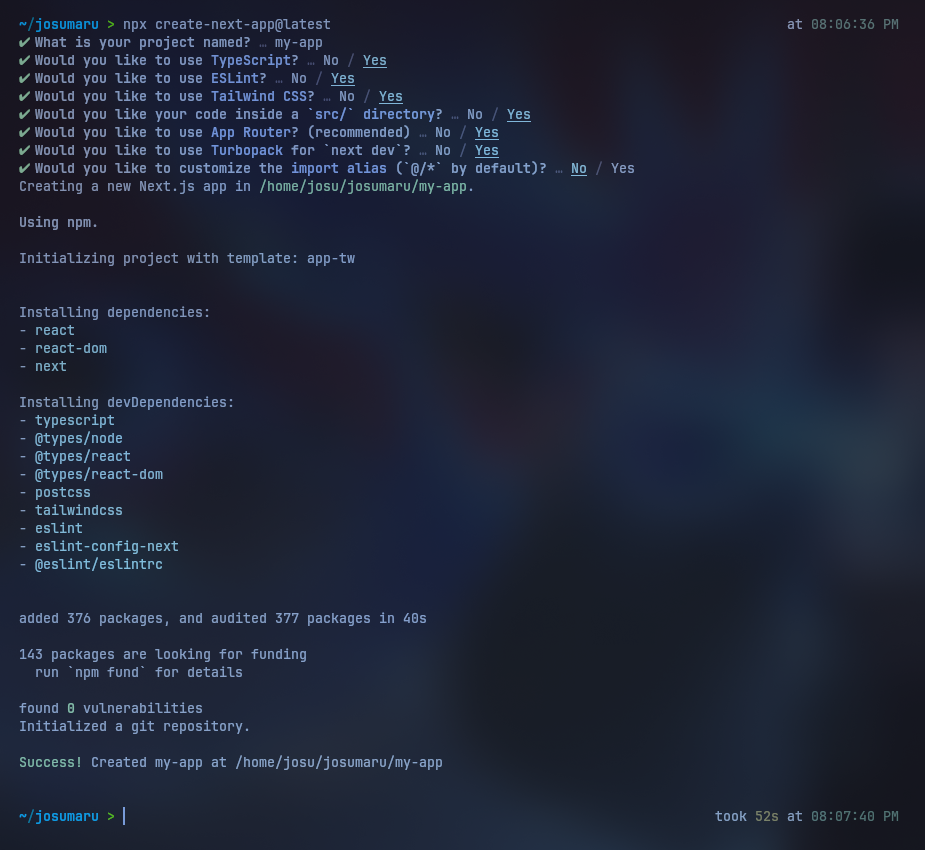
To set up a Next.js project, run the following command in your terminal:
Or, if you want to use the latest version of Next.js:
Follow the steps in the setup process until it completes. In this tutorial, we will use TypeScript.
Serve Next.js Server
Open your Next.js project using your favorite code editor. In this tutorial, we'll use VS Code
Next, open the terminal at the project root and run the following command:
 Once the server is running, open your browser and visit
 http://localhost:3000

Step 2: Install Zustand
To manage state efficiently, install the Zustand package by running:

Step 3: Create a store
Inside the /src directory, create a new folder named store.
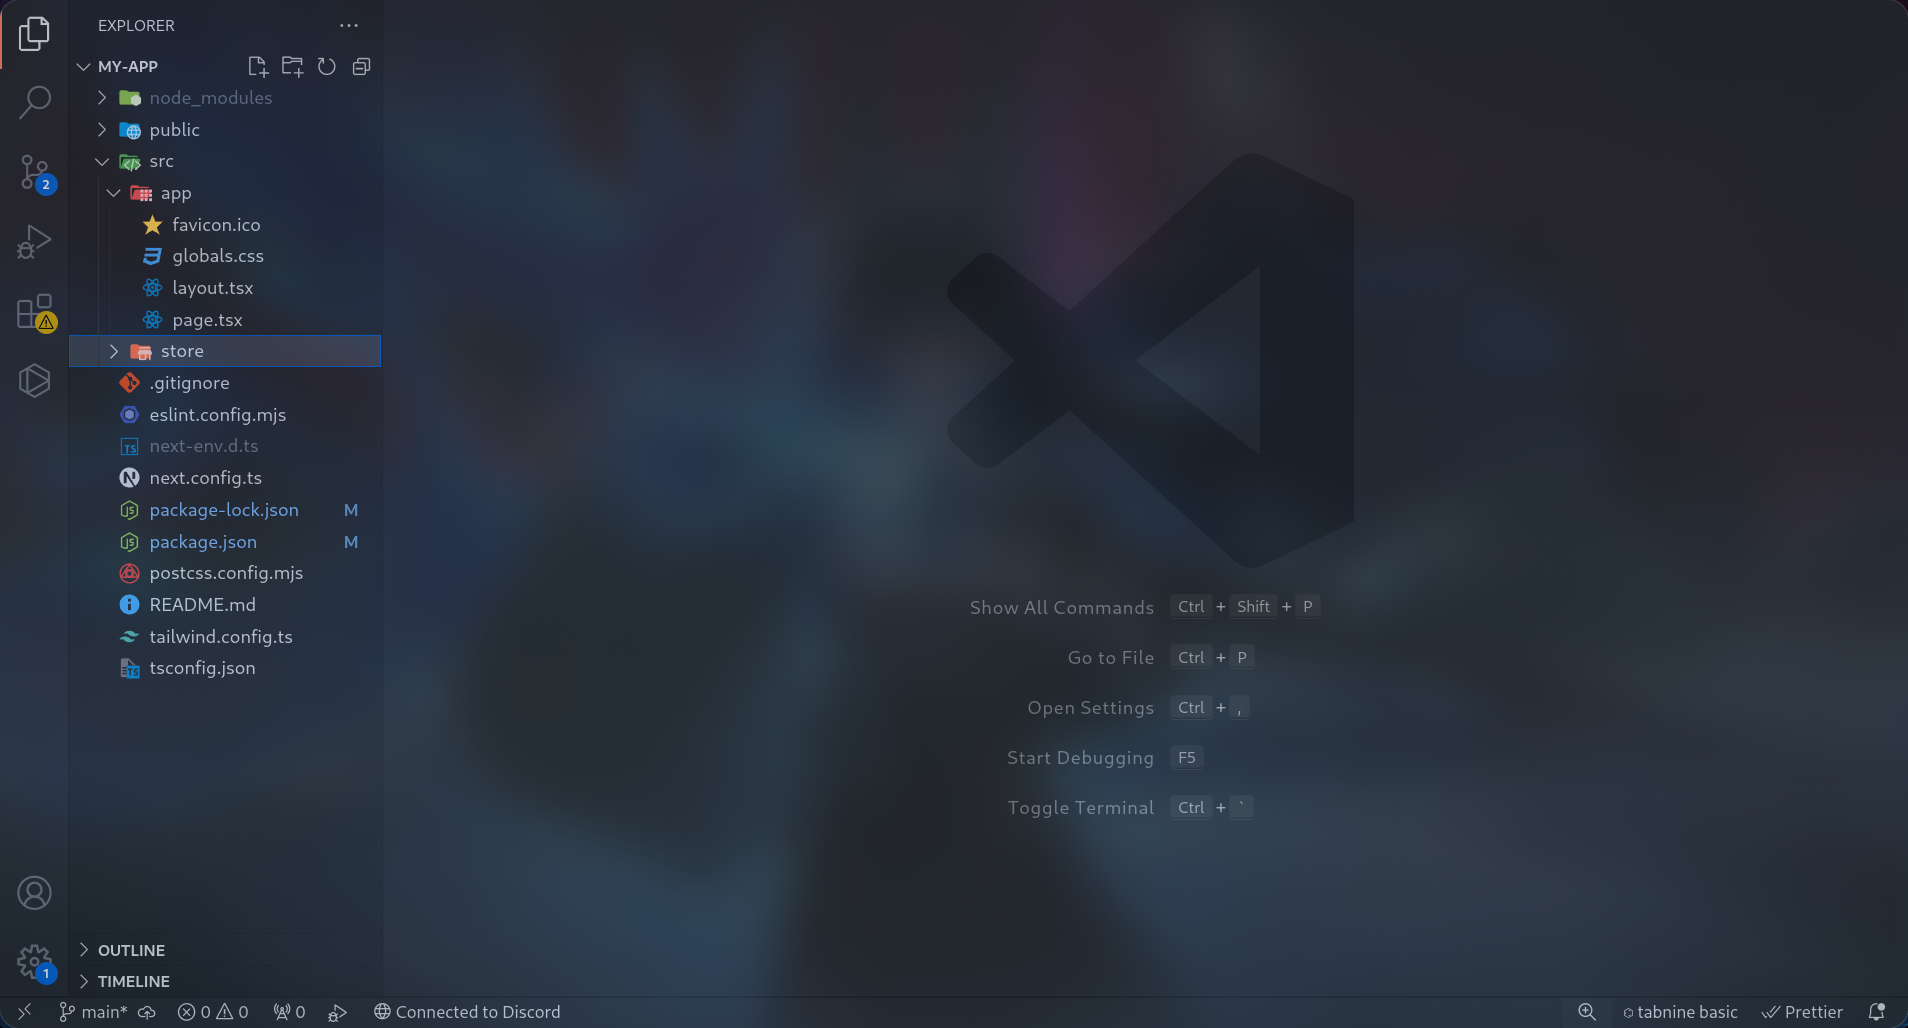
Create a New Store File
Inside the src/store folder, create a new file and paste the following code:
counterStore.ts
Step 4: Integrate with Next.js Page
After installing Next.js and Zustand, the next step is to integrate Zustand state management into our page.
Create a New Route
In this example, we'll create a checkout route.
In Next.js, routing is simple—just create a folder and a file inside the src/app directory. The file should be named page.tsx if you’re using TypeScript, or page.jsx for JavaScript.
Since we'll be using TypeScript in this tutorial, your folder structure should look like this:
Set up Zustand & Navigation at / Route
In Next.js, use the <Link /> component for navigation instead of the traditional <a /> tag.
First, delete all the code in src/app/page.tsx and replace it with the following:
src/app/page.tsx
Save your file and open your browser. You may notice an issue like this:
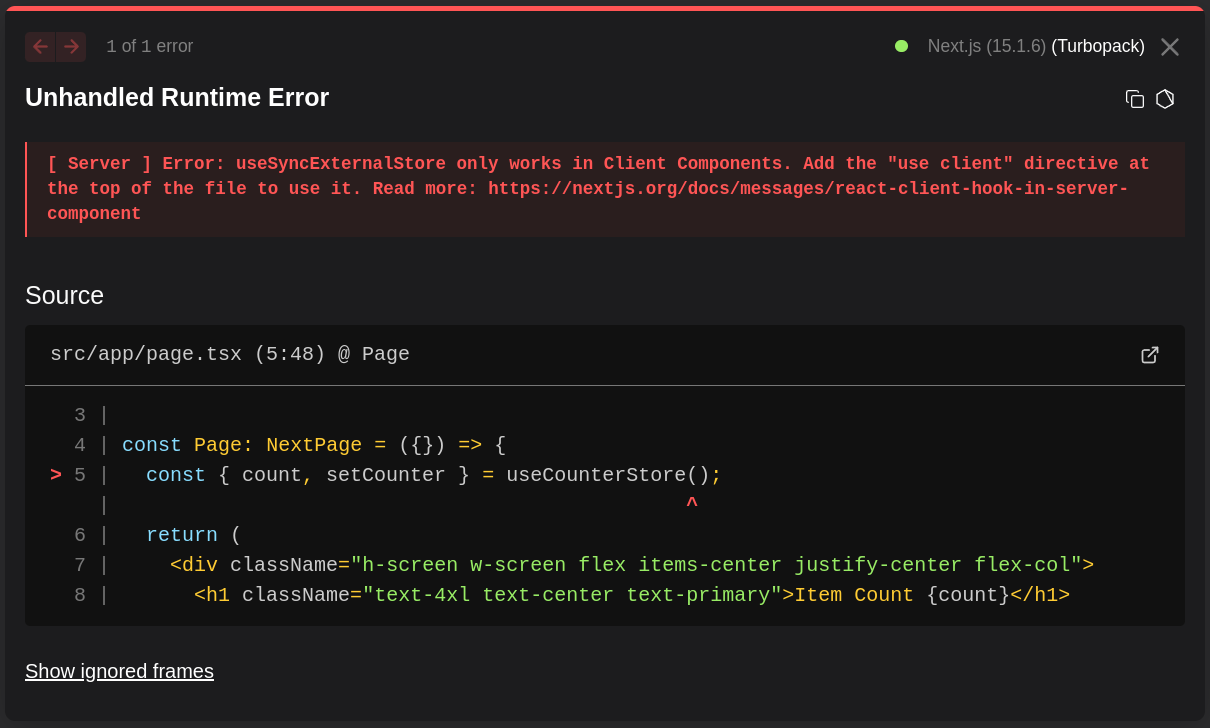
Why This Happens
When using Zustand in Next.js (or any framework that supports server-side rendering/SSR), you need to wrap your page with "use client" to ensure it runs on the client-side. Zustand relies on React hooks (like useState and useEffect), which can only be used inside client components.
Fix It
To fix this, simply add "use client" at the top of your file. Your updated code should look like this:
src/app/page.tsx
Now, your page should look like this:

Set up Zustand & Navigation at /checkout Route
Next, let's set up the checkout route. To do this, paste the following code into src/app/checkout/page.tsx:
src/app/checkout/page.tsx
Step 5: Enjoy Zustand State Management
Now, try adding items on the / page and navigate to /checkout to see the result.


Conclusion
In conclusion, integrating Zustand for global state management in your Next.js 15 application is a straightforward and powerful way to manage state across multiple pages. Zustand’s simple API makes it easy to create and update stores without the complexity often associated with other state management libraries.
By following this guide, you have successfully set up Zustand, created a store, and connected it to your Next.js pages. This enables smooth and efficient state management, making it easier to maintain and scale your application as it grows.
Zustand's flexibility and ease of use ensure you can manage state effectively across your app, and itis a great choice for small to medium-sized projects. If you'd like to see the full implementation, check out the example repository on GitHub: Github Repository.
Recommendation
You might like this post